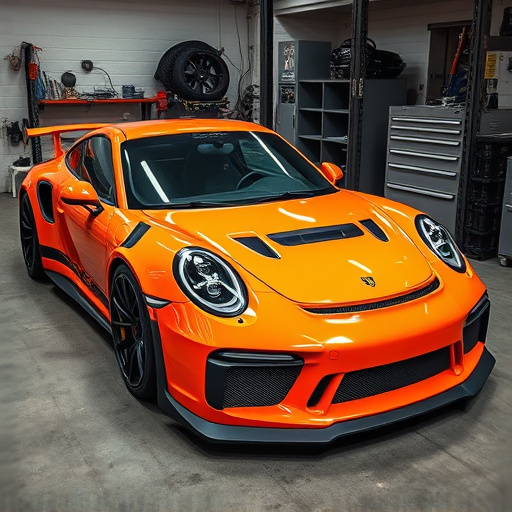


Inspect existing scratch protection film for damage, UV exposure, and adhesion issues before replacement or removal. Gather tools, materials, and consider ceramic coating for enhanced protection. Clean and prepare vehicle surface thoroughly, especially with custom graphics or tinting, to avoid damaging finishes during removal.
Planning on removing or replacing your scratch protection film? Great move! It’s an effective way to restore your vehicle’s exterior. Before you start, assess the current state of the film—is it cracked, faded, or loose? Gather tools like a squeegee, isopropyl alcohol, and microfibre cloths. Prepare your car’s surface by washing and drying thoroughly. This ensures optimal results and prevents further damage. A well-prepared surface is key to achieving a flawless finish after removing or replacing your scratch protection film.
- Assess Scratch Protection Film's Condition
- Gather Necessary Tools and Materials
- Prepare Surface for Replacement or Removal
Assess Scratch Protection Film's Condition
Before considering removal or replacement, carefully assess the condition of your scratch protection film. Look for any signs of damage, such as cracks, chips, or faded colors, which may indicate that the film is no longer effective at protecting your vehicle’s surface. Check if there are any exposed areas where the film has lifted from the glass, allowing scratches to become visible again.
Additionally, evaluate how well the film blocks harmful UV rays, a key function of scratch protection films. Over time, the adhesive properties can weaken, leading to poor adhesion and reduced UV protection, which is especially important for maintaining the integrity of your vehicle’s interior. If you’re considering replacing the film, consult with professionals who offer professional PPF (Paint Protection Film) installation services to ensure proper application and optimal performance.
Gather Necessary Tools and Materials
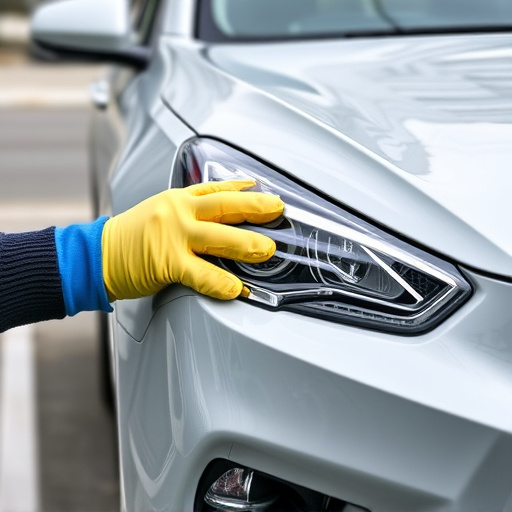
Before beginning the process of removing or replacing a scratch protection film, it’s crucial to gather all the necessary tools and materials. This includes specialized solvents designed to dissolve the adhesive backing without damaging the underlying surface. Always opt for products recommended for your specific scratch protection film type, as different materials require unique approaches. Additionally, prepare a clean cloth or sponge, a putty knife with a fine edge, and a reliable vacuum cleaner to ensure a thorough cleaning post-removal.
For a seamless experience in automotive detailing or paint correction, consider investing in a ceramic coating that offers enhanced protection against scratches and stains. This can serve as a protective layer beneath the scratch protection film, further safeguarding your vehicle’s finish. Remember, proper preparation is key; having the right tools and materials will make the removal or replacement process more efficient and reduce the risk of damage to your vehicle’s pristine surface.
Prepare Surface for Replacement or Removal

Before initiating the removal or replacement of a scratch protection film, it’s crucial to prepare the surface thoroughly. This involves cleaning the area to eliminate any dirt, grime, or residue that could hinder the process or lead to an uneven finish. Use a suitable cleaner and microfiber cloth to ensure no contaminants remain on the surface. Additionally, inspect the area for any loose debris or adhesive remnants from the previous film installation. Removing these can prevent damage to the underlying material during the replacement or removal process.
For vehicles adorned with custom graphics or featuring window tinting, the preparation steps may require extra care. Paint protection film, a popular choice for safeguarding vehicle finishes, might need to be carefully peeled back to avoid damaging the design or tint. Employing safe techniques and tools ensures that the scratch protection film is handled with the same meticulousness as the rest of the surface preparation process.
When preparing to remove or replace a scratch protection film, assessing its condition, gathering the right tools and materials, and properly prepping the surface are essential steps. By following these simple guidelines, you can ensure a seamless process, maintaining your vehicle’s aesthetic appeal and protecting its finish from future scratches. Remember, regular maintenance of your scratch protection film is key to keeping your car looking as good as new.